
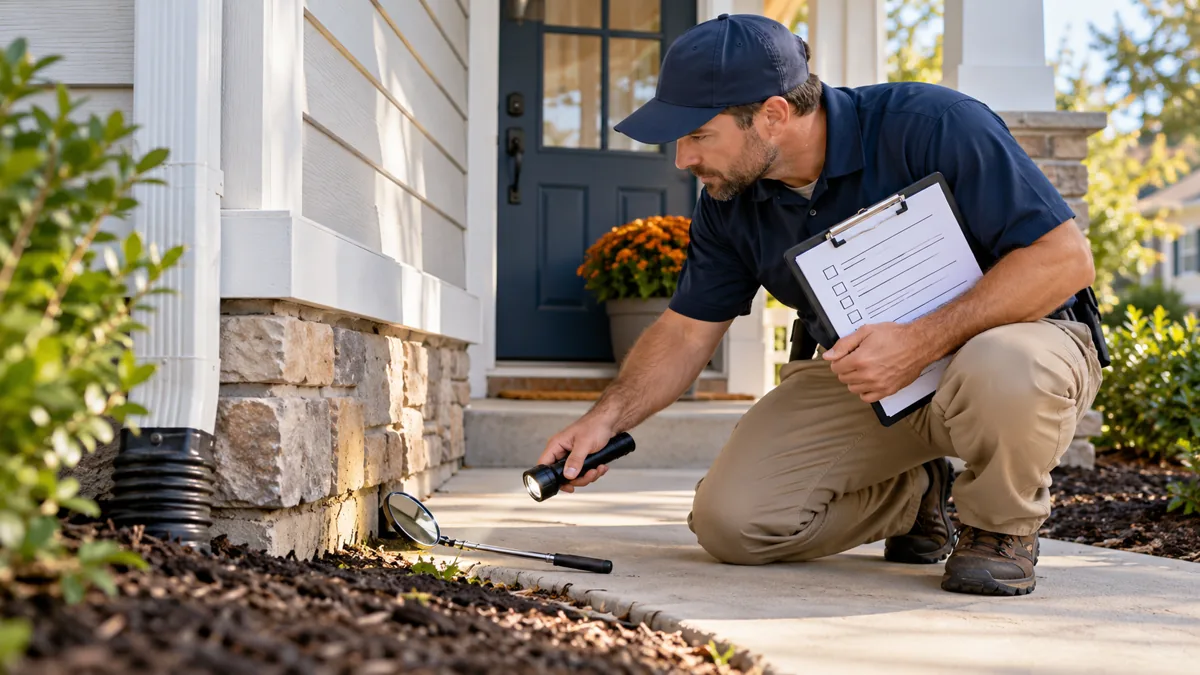
A pest control inspection checklist helps a technician follow a consistent route through a property, record evidence, and turn observations into assigned actions. It should also show what could not be inspected. A page of unchecked boxes does not prove that a site is pest-free, and a completed checklist does not automatically authorize treatment.
Download our original editable Word checklist or printable PDF checklist. The PDF is designed for printing; edit the DOCX when adapting fields. This general worksheet is not an official NPMA-33, regulatory inspection form, or clearance certificate.
How to use the pest control inspection checklist
Begin with the agreed service scope, site identity, date, technician, and customer contact. Record observations during the inspection rather than reconstructing them from memory at the end of a busy route. Use “not inspected” or a clear explanation when access is unavailable instead of allowing a blank field to imply a satisfactory result.
The checklist is a process aid. It does not replace pest identification, safe-access procedures, professional judgment, label directions, or jurisdiction-specific requirements. If a situation falls outside the assignment or the technician’s competence, document the issue and escalate it. Do not expand an inspection into unapproved structural work or treatment.
Before arrival: define the assignment
Confirm which buildings and accessible areas are included. Ask about the reported pest, locations, timing, previous actions, and access restrictions. Review earlier reports for context, but do not prefill today’s findings from an old inspection. Conditions and occupancy can change between visits.
Check whether the customer needs a routine service inspection, a commercial monitoring visit, or a specialized WDI report. Those are different assignments. Use our NPMA-33 guide for official-form access and reporting context when relevant. The free general checklist cannot be converted into a transaction report by changing its title.
Establish a practical communication plan for locked rooms, pets, occupants, and restricted zones. Ask the customer to identify relevant concerns without collecting unnecessary personal details. A short access note can be operationally useful; a broadly shared document containing private household information usually is not.
Exterior inspection sequence
| Area | What to observe | Useful record |
|---|---|---|
| Doors and openings | Accessible gaps, damaged screens, visible entry evidence | Exact opening and photograph reference |
| Foundation and accessible perimeter | Moisture, drainage, vegetation contact, visible evidence | Location and observed condition |
| Waste and storage | Container condition, spillages, clutter, access | Responsible party and corrective action |
| Monitoring devices | Identity, condition, observations where within scope | Device ID, location, date, follow-up |
| Restricted or unsafe areas | Why inspection could not proceed | Specific limitation and next step |
Follow a repeatable direction around the property so gaps are easier to notice. Record location references that another technician could find: “west side, second door” is more useful than “outside.” Photograph the condition and enough surrounding context to locate it, while avoiding unrelated people and private information.
Do not move equipment, enter confined spaces, disturb electrical systems, or access unsafe heights merely to complete every box. A recorded limitation is more defensible and useful than an unsupported claim that an unsafe area was inspected. Arrange appropriate access or specialist assistance where necessary.
Interior inspection sequence
Review accessible food preparation and storage areas, plumbing and moisture locations, utility penetrations, cluttered storage, and reported activity sites within the agreed scope. Distinguish an observed condition from an identified pest. A customer’s description of “termites” is an important lead, not a confirmed identification.
Use a consistent evidence record: what was seen, where, when, supporting photo or specimen reference, and identification confidence. If identification needs verification, say so. Avoid vague language such as “bad infestation” without describing the actual observations and their locations.
For commercial premises, use the customer’s area names or a site map so findings align with maintenance responsibilities. Record an inaccessible storeroom separately from an inspected kitchen. A single overall pass/fail box can conceal important differences between areas and make follow-up difficult.
Turn findings into an action log
The downloadable worksheet separates findings from actions, owners, and due dates. This prevents the report from becoming a list that nobody is responsible for closing. A fictional example might read: “Gap visible at rear delivery door; maintenance to assess and repair; photo EX-01; review at next authorized visit.” It does not claim that repair has already happened.
Prioritize by the actual situation and your established professional process. Do not invent universal thresholds for every pest or property. EPA’s school IPM checklist illustrates an approach that connects inspection, monitoring, prevention, and responsibilities. Its school context should not be mistaken for a nationwide commercial inspection mandate.
Where treatment is proposed, keep authorization and required pesticide documentation separate. An observation should lead to an appropriate decision process, not automatically to an application. The pesticide record keeping guide explains why a general checklist is not a complete application log.
Document limitations honestly
Record the exact inaccessible area, reason, and follow-up needed. Examples include a locked utility room, blocked inspection access, or a customer declining entry to a particular area. Avoid broad statements that imply the uninspected location had no evidence.
If access is later provided, create a dated follow-up record. Keep the earlier limitation understandable rather than silently replacing it with a completed checkbox. Link the follow-up to the original job and note which observations are new. This is especially important when a customer or property manager receives reports at different times.
Paper, editable document, or inspection app?
Paper can be practical when a technician needs a simple field aid. Editable documents support customization, but version control becomes important when several people use separate copies. Digital forms can connect photographs, device IDs, and follow-up tasks, provided the chosen system supports the actual workflow.
In a software demonstration, ask a vendor to capture a fictional finding, attach a photo, mark one area inaccessible, assign an action, and export the final record. Check whether the exported document preserves every note and location. Do not assume that a checkbox labeled “inspection” includes all the fields your business needs.
Connect the inspection to an estimate when proposed work needs authorization, and to a service report when documenting completed work. The small-business software guide can help evaluate when a connected system becomes worthwhile.
Final field review
Before leaving, check that the property, inspected areas, observations, limitations, evidence references, and next steps are complete. Explain relevant findings to the customer in plain language. Do not imply that a general inspection guarantees future conditions or covers uninspected areas.
Back at the office, file the completed record under the job reference, assign outstanding actions, and set a review date. Keep the blank master separate from customer copies. Remove sample text and bracketed placeholders before sharing a customized version. An effective checklist creates a usable follow-up record rather than just a reassuring stack of completed pages.
By Pest Tech Research Editorial. Prepared and source-checked October 29, 2026. The displayed publication date follows the publisher’s requested archive schedule and does not represent earlier research or testing. Featured image: AI-generated editorial illustration, not a product screenshot or evidence of field testing. Questions or corrections: Contact Pest Tech Research.